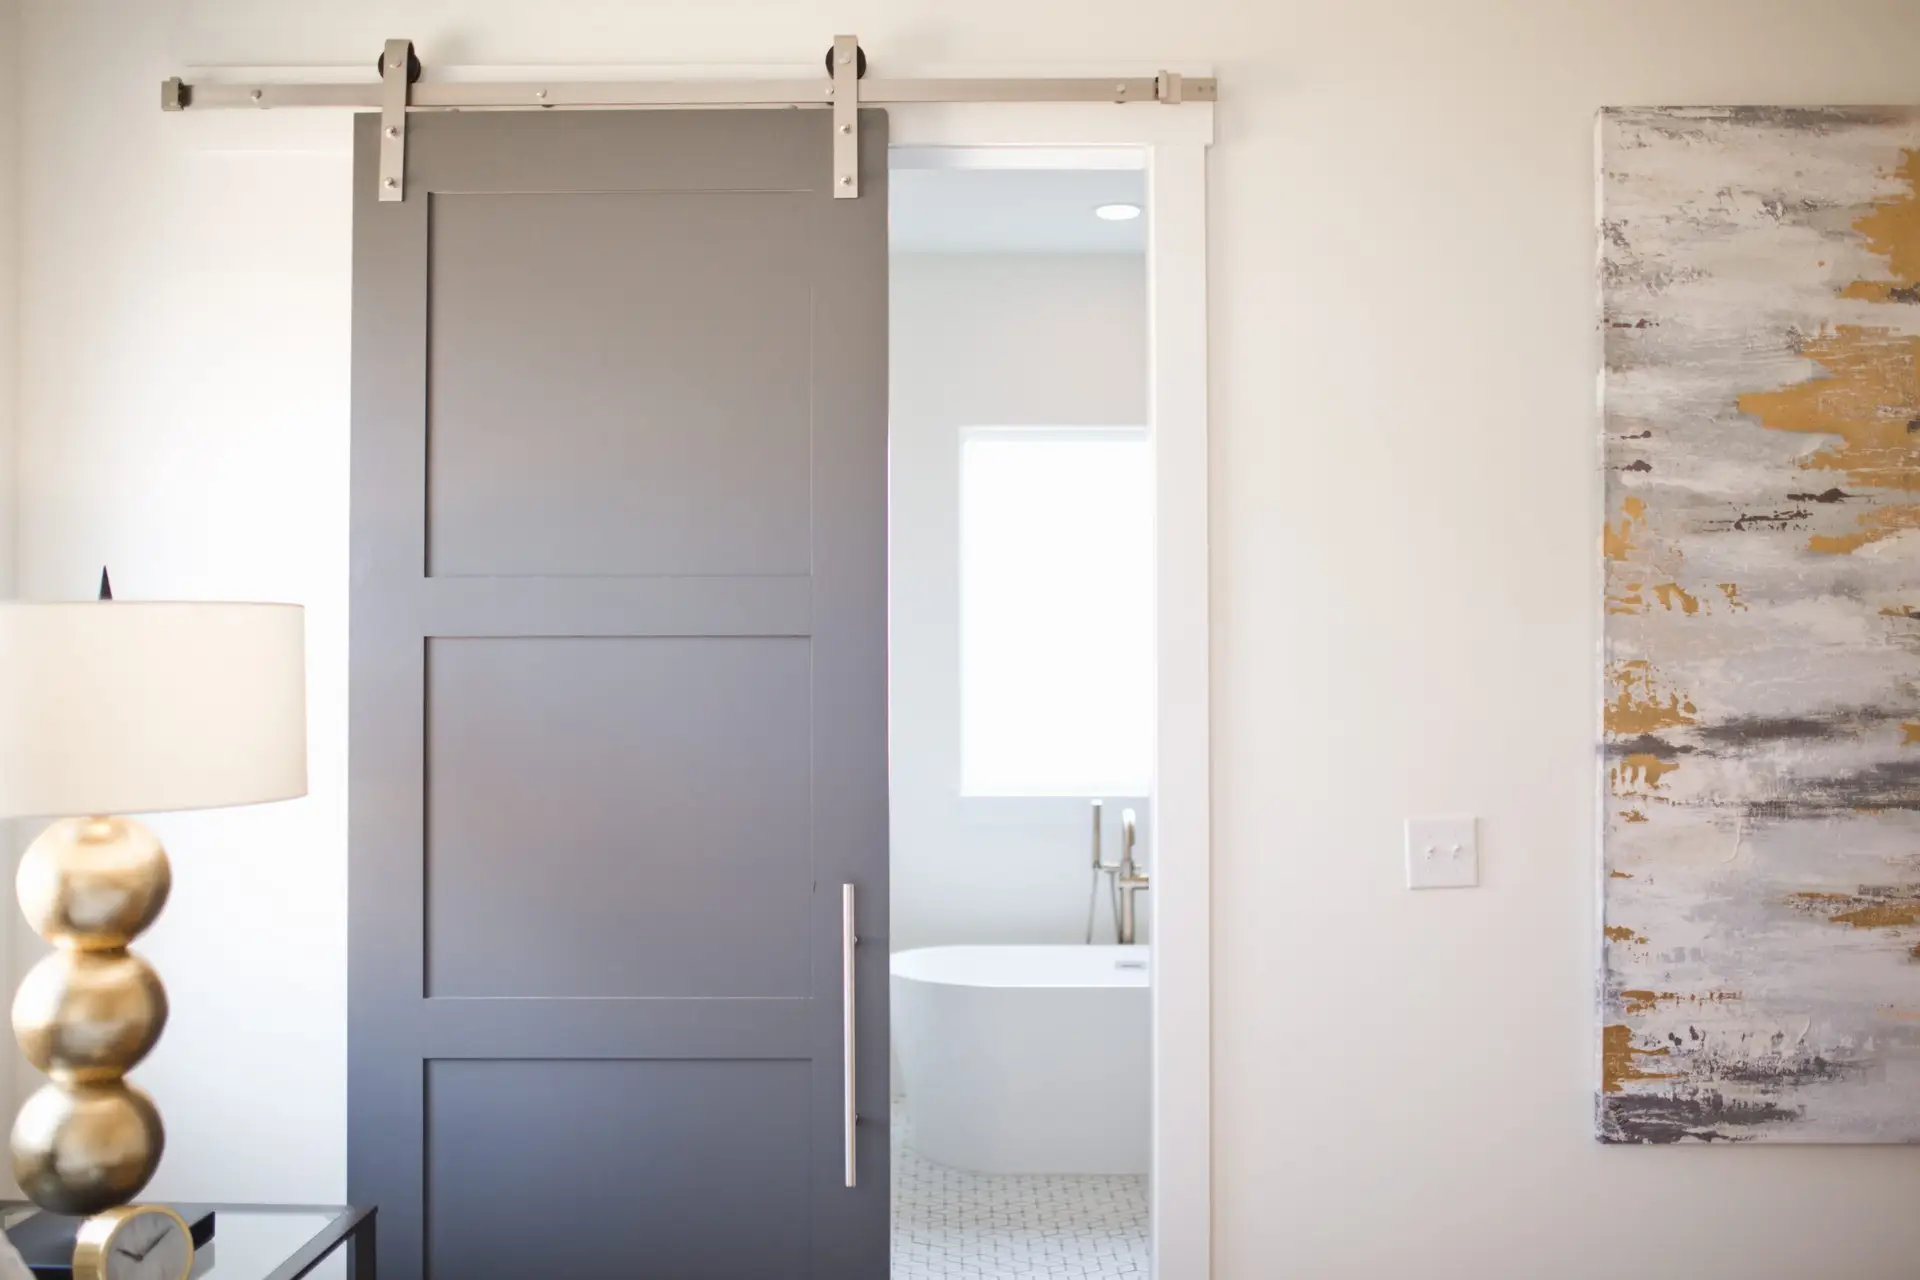
Modern interior design has evolved to embrace barn doors as a cherished feature that gives homes some rustic appeal and utility. If you’ve ever loved these chic doors and wondered how you might create a barn door yourself, you’re at the right place.
The best part is that you don’t need to have skilled carpentry knowledge to complete this job. Anyone may design a lovely barn door that improves their living area using simple equipment and little excitement.
Imagine turning a simple gateway into a striking focal point or saving space in a confined area with a sliding barn door. This guide will walk you through how to build a barn door in step-by-step, regardless of your level of experience with DIY projects or just searching for a challenging one.
Let’s uncover that rustic appeal together.
Why Choose a Barn Door?
Space-Saving Design
Barn doors’ space-saving design is one of the main factors homeowners choose them for. Barn doors glide along the wall unlike conventional swinging doors, which makes them perfect for small rooms, closets, or halls with limited space.
Aesthetic Appeal
Barn doors provide any room a special combination of rustic and modern design. Their unique style instantly improves the interior design and functions as a statement piece.
Customization
Building your own barn door lets you entirely choose the hardware, finish, and materials. This lets you customize the door to exactly complement your own style and the décor of your house.
Reasonably Affordable
Pre-made barn door purchases might be costly. Learning how to create a barn door yourself will help you achieve the same upscale appearance at much less expense.
Barn Door hardware You’ll Need
Tools and Resources
It’s important to compile all the equipment and supplies before delving into the detailed instructions on building a barn door. Having everything available will help streamline the procedure and increase enjoyment.
Materials
Wood Boards: choose premium materials including reclaimed wood, oak, or pine .
Back Brace Boards: For further support and design (e.g., Z-brace or X-brace).
wood screws or nails: To firmly assemble the door
wood glue: Extra bonding strength between boards comes from wood glue.
Sandpaper: Sandpaper with 80, 120, and 220 grit will help smooth the wood from outside.
Paint or stain: can help you complete the door in your preferred color.
Sealant: Protects the door from wear and moisture.
Barn Door Hardware Kit: Consists of track, rollers, handles, and mounting hardware.
Tools
Measuring Pencil and tape: for precise marks and measurements.
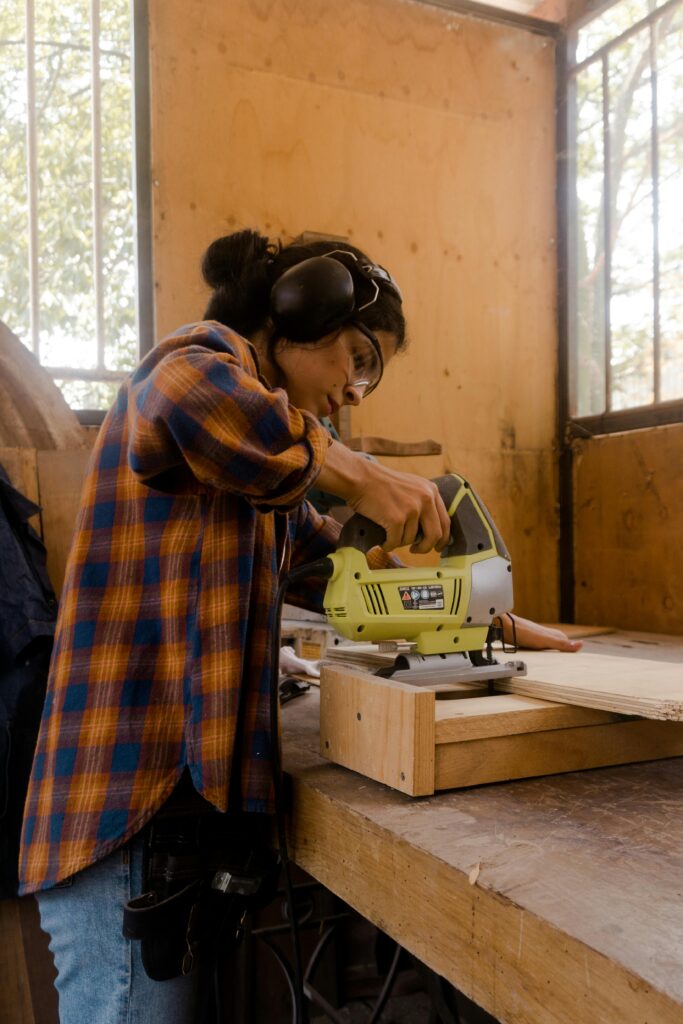
A miter or circular saw: is used to cut wood to fit.
Drills and drill bits: for Pre-drilling holes and driving screws.
Screwdrivers: Hardware assembly calls for screwdrivers.
Clamps: During assembly, clamps hold boards in place.
Level: Ensures that everything is in order.
Stud finder: Locate the mounting wall studs using a stud finder.
Safety Gear: Ear protection, gloves, and safety glasses are must-used items.
How to build a barn door Step-by-Step guide

1) Design and measurement of the doorway
Width: Calculate your doorway’s width. To guarantee the door fully covers the aperture, add two extra inches on either side.
Height: Measure height from floor to top of the entryway. For enough coverage, add one inch to this measurement.
Guarantee wall space: Make sure the door can slide open entirely by ensuring ample wall space next to it. Choose Door Style: Choose from popular styles for your barn door, plain plank, Z-brace, or X-brace designs.
2) Cut the wood
Cut the main boards to the proper height using your measurements.If you are installing braces, cut these pieces to fit across or diagonally on the door.
3) Put the Door Together
Organize the Boards on a plain surface, side by side, so that the vertical boards line up exactly.Then use wood glue.
Strengthen the bond by gluing the margins where the boards meet. Close the Boards.
Hold the boards firmly together while the glue cures using clamps.Tie Braces Orient the braces on the door.Drill the holes beforehand to avoid splitting the wood.Fasteners, nails, or wood screws will help secure the brace.
4) Sanding the Door
Start to polish rough surfaces with 80-grit sandpaper.For a smooth surface, advance to 120-grit and finish with 220-grit.You can use a moist cloth to remove dust from the door.
5) Use Paint or Stains
Staining helps the wood to look naturally beautiful.
Painting lets you match your décor with a specific color.Apply evenly, following the direction of the wood grain.
Afterward, Seal the door to guard against moisture and wear once the stain or paint dries.
6) Install Door Hardware
Attach rollers: Position the rollers at the top of the door, following the manufacturer’s instructions.
Install hand handles: Mark the intended position and screw-fasten handles.
7) Mount the Track
Find wall studs to discover and mark studs above the entryway, use a stud finder .Then Install the track. To ensure even support, secure the track to a header board or wall studs.Make sure the track is level before you tighten the screws.
8) Hanging the door
Now Lift the door with some help, then line the rollers with the track. Slink the door gently onto the track.To guarantee the smooth movement of the door, slide it back and forth.
9) Install door guides
Attach wall-mounted or floor-mounted guides to prevent the door from swinging. Make sure the guides are aligned with the bottom of the door.
10) Final Corrections
Tighten every hardware piece. Check the door’s silent and smooth sliding action.
Additional Tips and Considerations

Choose the Right Wood
Reclaimed Wood Adds character and is also environmentally friendly. Hardwoods like oaks are more durable but difficult to work with than softwoods like pine.
Safety First
Always wear safety gear when operating tools. Be cautious when lifting heavy materials.
Customization
Choose hardware that complements your home’s style. For a modern touch, consider adding glass panels.
Maintenance
Regularly check and tighten hardware. Clean the track to prevent debris from causing issues.
Common Mistakes to Avoid

Inaccurate Measurements
Double-check all measurements to ensure the door fits perfectly.
Poor Quality Materials
Invest in quality wood and hardware to ensure longevity.
Skipping Sanding and Sealing
Proper sanding and sealing protect the door and enhance its appearance.
Ignoring Wall Structure
Failing to mount the track securely into studs can lead to accidents.
Final Thoughts
Building a barn door is a rewarding endeavor that not only gives your house rustic appeal but also makes one feel successful. By following this manual, you can create a beautiful and functional piece that reflects your unique style and craftsmanship. Remember—the secret is to approach things one step at a time. Plan and measure carefully first; avoid rushing the process.
From choosing the ideal wood to finishing details with your preferred hardware, enjoy every aspect. While mistakes are an inevitable part of the learning process, they serve to shape the outcome and enhance its fulfillment.
Learning how to create a barn door not only improves the appearance of your house but also helps you to adopt an innovative and self-dependent attitude. This project captures the DIY attitude—that of turning unprocessed resources into something lovely and useful with your labor. So gather your tools and get started; your dream barn door is waiting!
How to build a Barn Door
- 1) Does constructing a barn door require specific expertise?Basic carpentry knowledge is useful, but even beginners can learn how to construct a barn door by closely following directions and safety precautions.
- 2) Can I build my barn door from any type of wood?Indeed, it's important to consider factors such as weight and durability. While softwoods are lighter and more workable, hardwoods are robust but heavier.
- 3) If my wall doesn't have the studs needed for the track, what would happen?After securing a header board to the studs, position the track on top of the header to provide the necessary support.
- 4) Can I cover an existing door frame with a barn door?While you can place barn doors over existing door frames, you must consider trim and molding when measuring.

